Skills Review Videos
CNA Skills
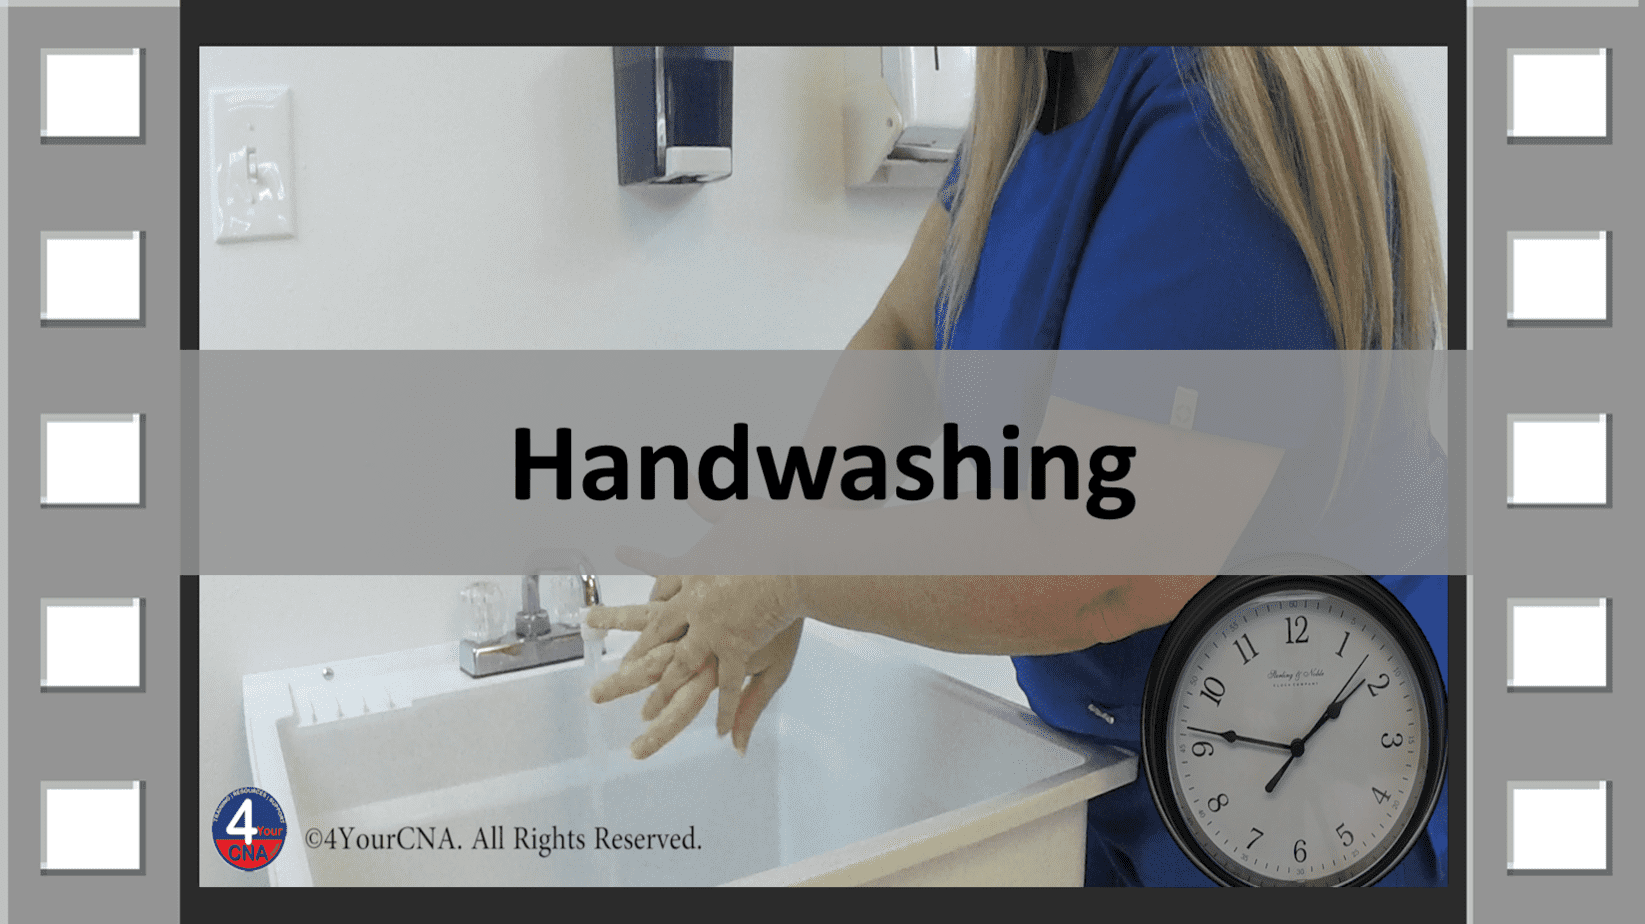
Wash your hands with soap and water using friction for at least 20 seconds before and after every patient encounter.
1. Turn faucet on and wet hands |
2. Apply soap, keep hands lower than elbows over sink |
3. Look at clock to begin timing friction |
4. Circle wrists, rub back of hands, between fingers, bottom of hands by pinky and palm of hands for at least 20 seconds, using clock to time |
5. Clean cuticles and under nails |
6. Rinse wrists and hands – do not touch sink or faucet |
7. Tap hands over sink so excess water drops into sink (don’t shake) |
8. Dry hands with paper towels, dispose of paper towels |
9. Turn off faucet with clean, dry paper towel – discard into trash |
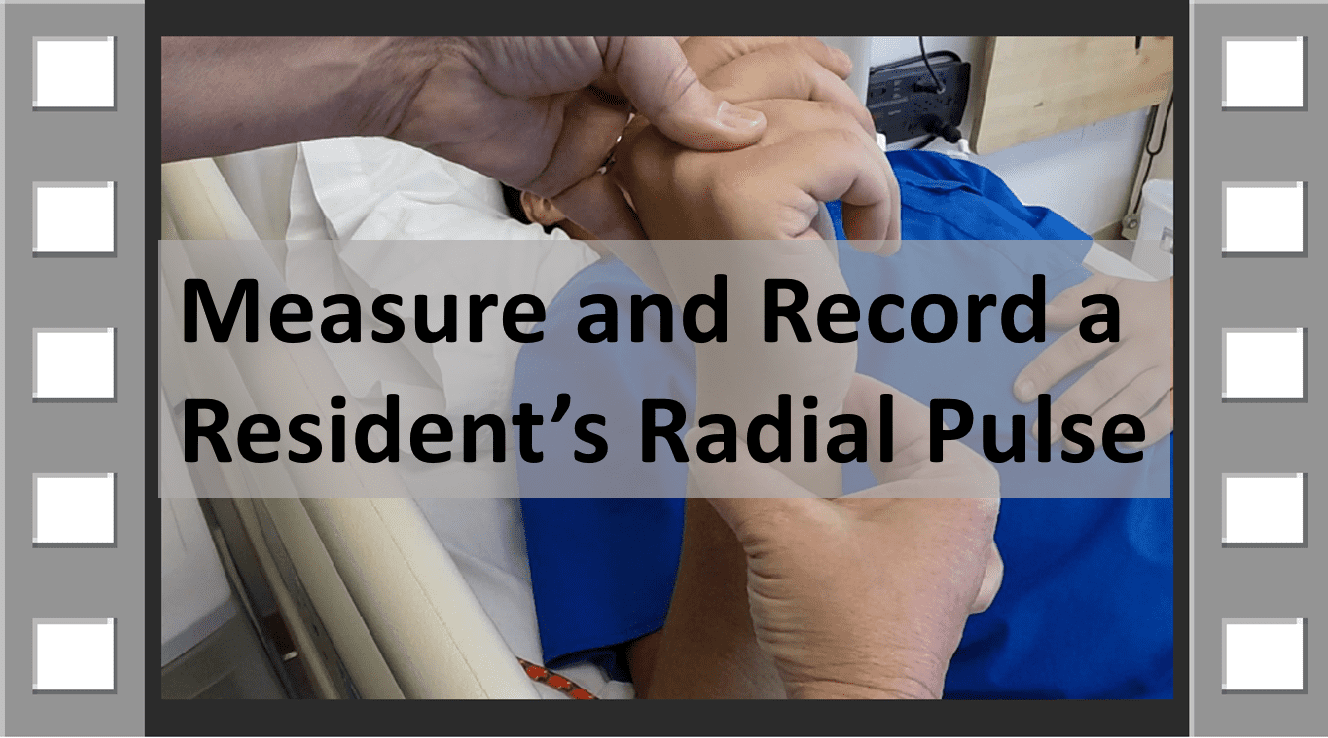
Patient will be lying in bed for skill. Take the patient’s radial pulse, measured at the wrist, for one full minute and record your readings.
1. Opening & wash hands |
2. Locate pulse on thumb side of patient’s wrist |
3. Look at clock and say “Start” out loud |
4. Count beats (thumps you feel under your fingers) for one full minute (count silently) |
5. Say “Stop” out loud at end of full minute |
6. Perform closing and wash hands |
7. Document |
8. **Florida only: repeat with second evaluator |
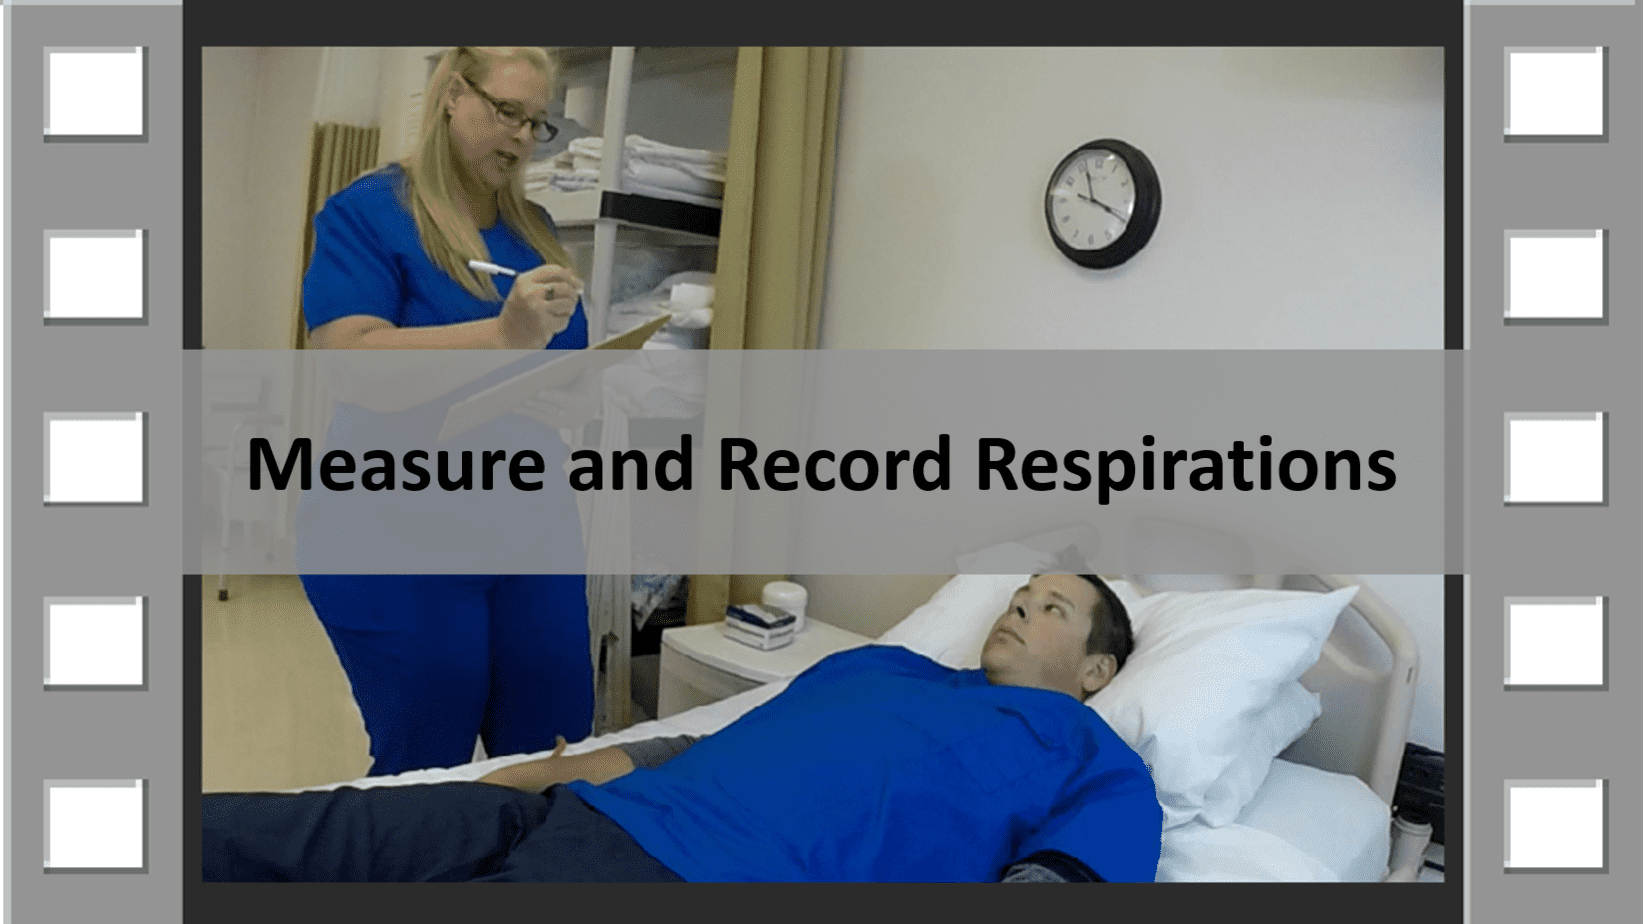
Patient will be lying in bed for skill. Count the patient’s respirations for one full minute and record your readings.
1. Opening & wash hands |
2. Place alcohol pad on patient’s abdomen (if desired) |
3. Look at clock and say “Start”; count breaths for one full minute |
4. Say “Stop” out loud at end of full minute |
5. Dispose of alcohol pad (if used) |
6. Perform closing and wash hands |
7. Document |
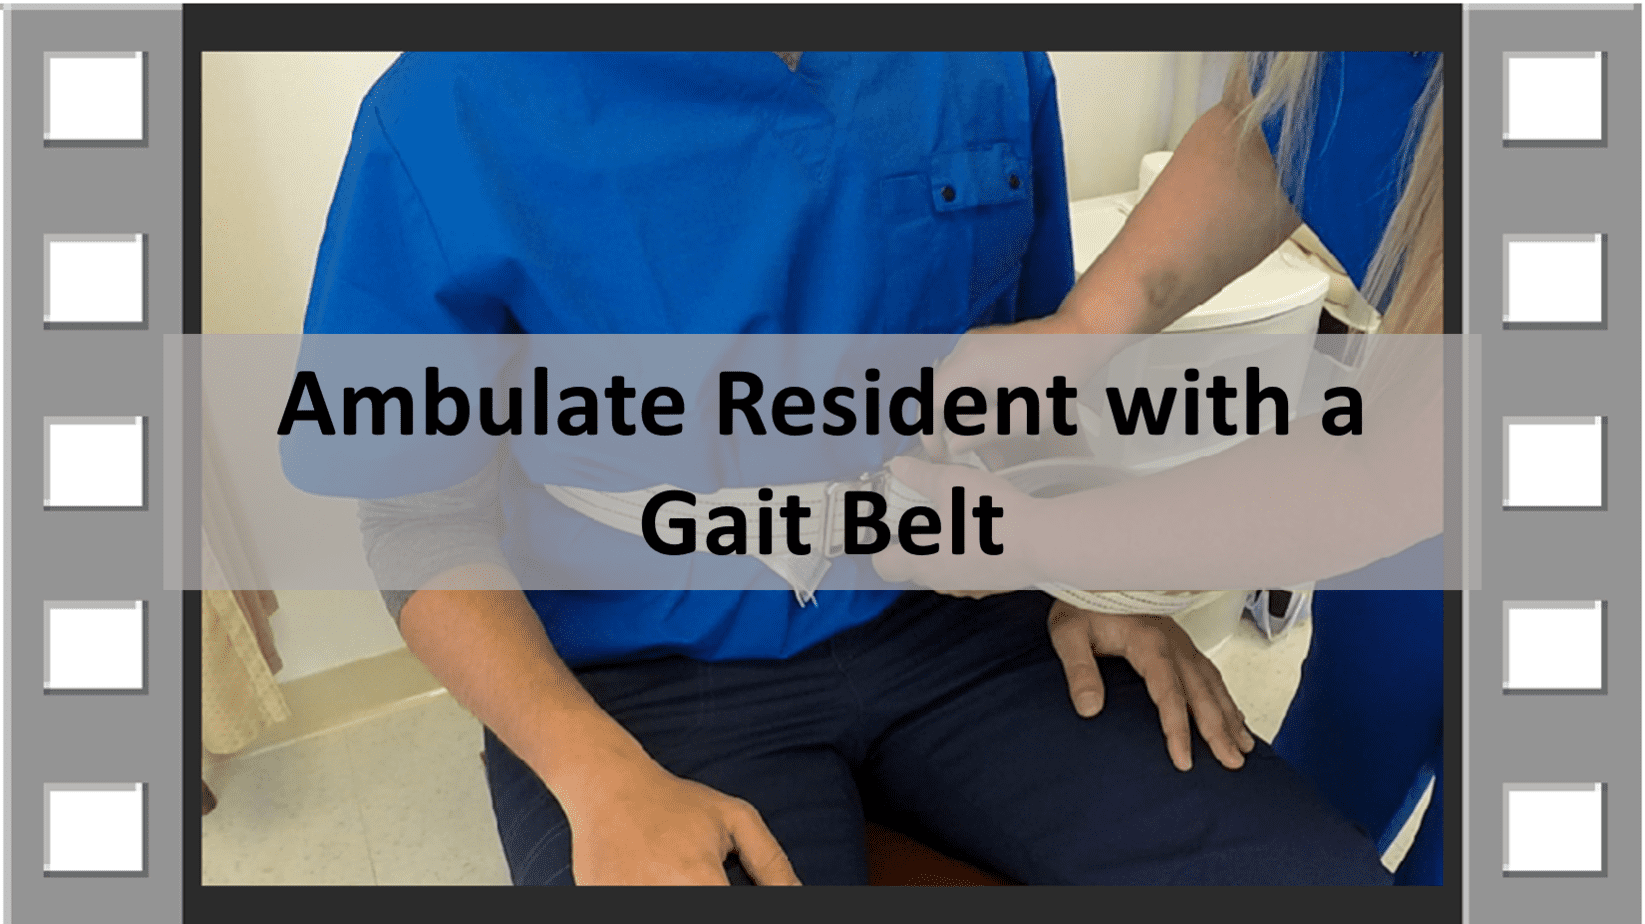
Ambulate the resident at least 10 steps. Use a gait belt or transfer belt. Patient will be sitting in chair at side of bed with shoes on. Patient is able to walk but needs assistance to stand.
1. Opening & wash hands |
2. Get gait belt; identify if patient has non-skid footwear on |
3. Place gait belt on patient, around waist, buckle in front |
4. Ensure 4 fingers between gait belt and person |
5. Assist patient to stand by holding back or sides of gait belt |
6. Ask about dizziness; hold back of gait belt with one hand on farthest side (behind patient) with patient’s arms at sides |
7. Walk slightly behind and to one side; let patient lead; walk 5 steps |
8. Have patient turn and return to chair in same manner |
9. Ask frequently about dizziness, weakness and comfort |
10. Assist patient to back knees up to chair; gently lower into chair |
11. Remove gait belt |
12. Closing & wash hands |
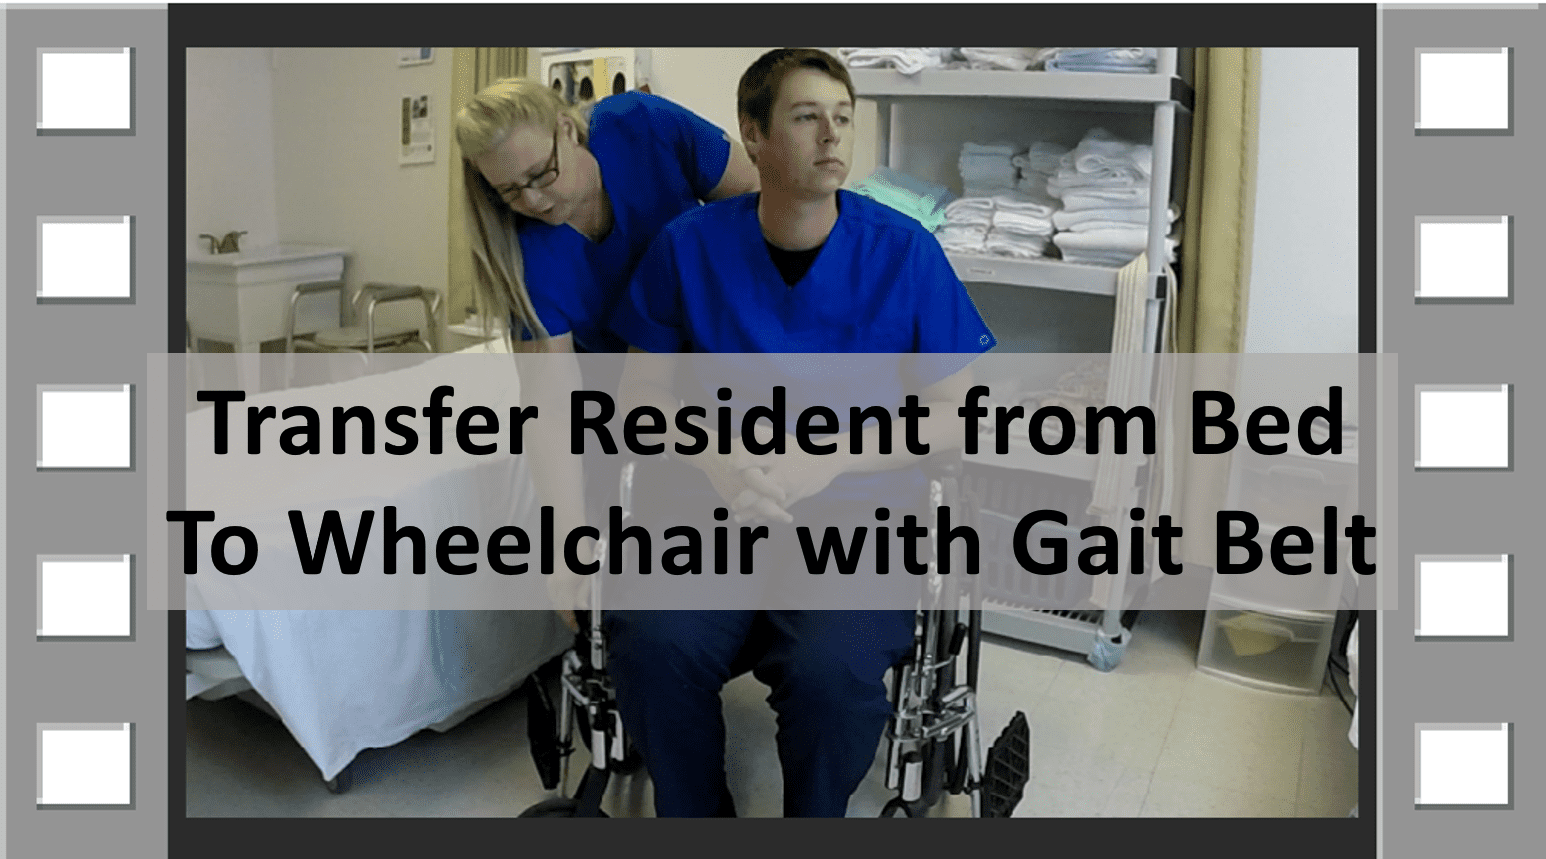
Transfer the resident from bed into the wheelchair. The resident is unable to walk or take steps, but can stand with support. A gait belt or transfer belt is required to transfer the resident. The resident will stay in the room.
1. Opening & wash hands |
2. Get gait belt; prepare wheelchair (open and footrests out of way) |
3. Pivot patient into sitting position on side of bed |
4. Place footwear on patient, place feet flat on floor |
5. Place gait belt on patient, around waist, buckle in front |
6. Ensure 4 fingers between gait belt and person |
7. Bring wheelchair to side of bed; lock wheels |
8. On count of 3, grasp back of gait belt to stand and pivot patient |
9. When back of knees are against seat, gently lower into seat |
10. Have patient adjust hips as needed; remove gait belt |
11. Move wheelchair to adjust leg supports and footrests; lock wheels |
12. Closing & wash hands |
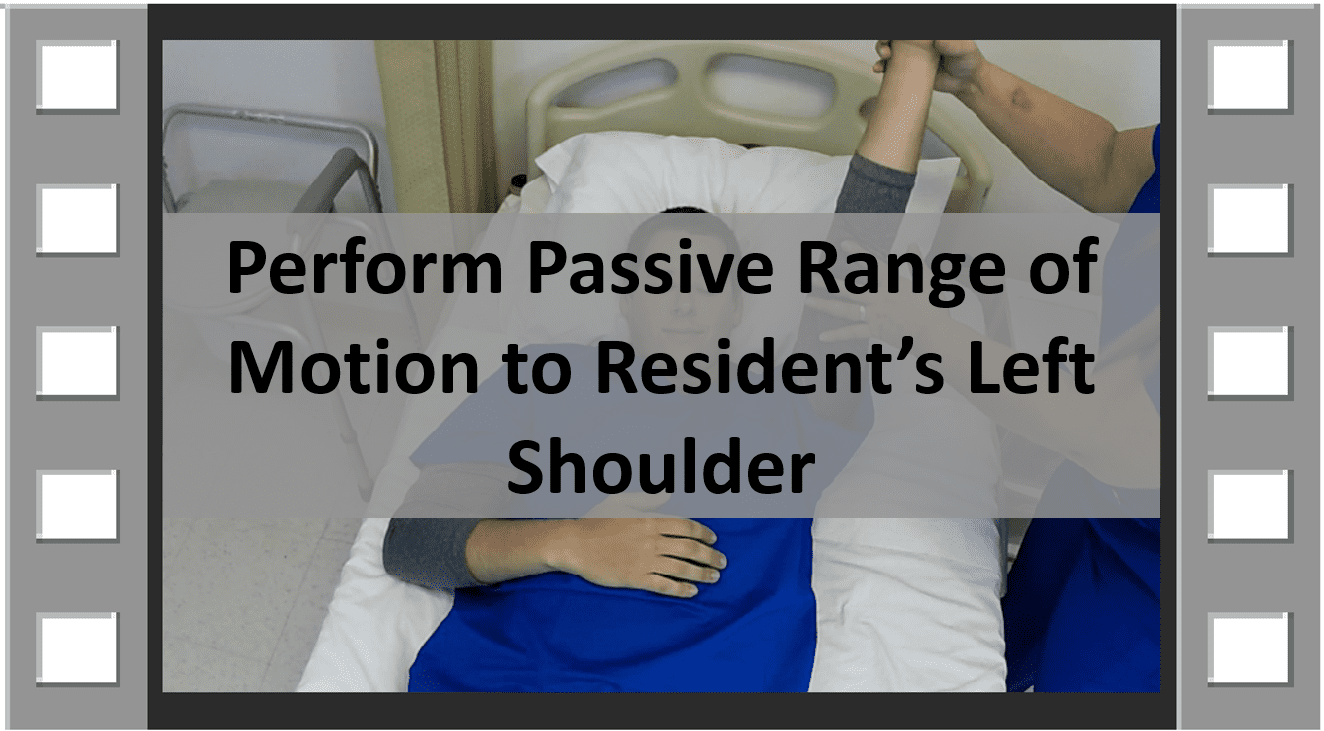
Provide the following range of motion (ROM) exercise to the resident’s left shoulder: flexion/extension and abduction/adduction. Provide three (3) repetitions of each exercise. The resident is not able to help with the exercises.
1. Opening & wash hands |
2. Explain all exercises before proceeding |
3. Flexion/extension of shoulder (up and down like asking a question) |
4. Abduction/adduction of shoulder (side to side like making a snow angel) |
5. Repeat each exercise three times |
6. Monitor for signs of pain |
7. Closing & wash hands |
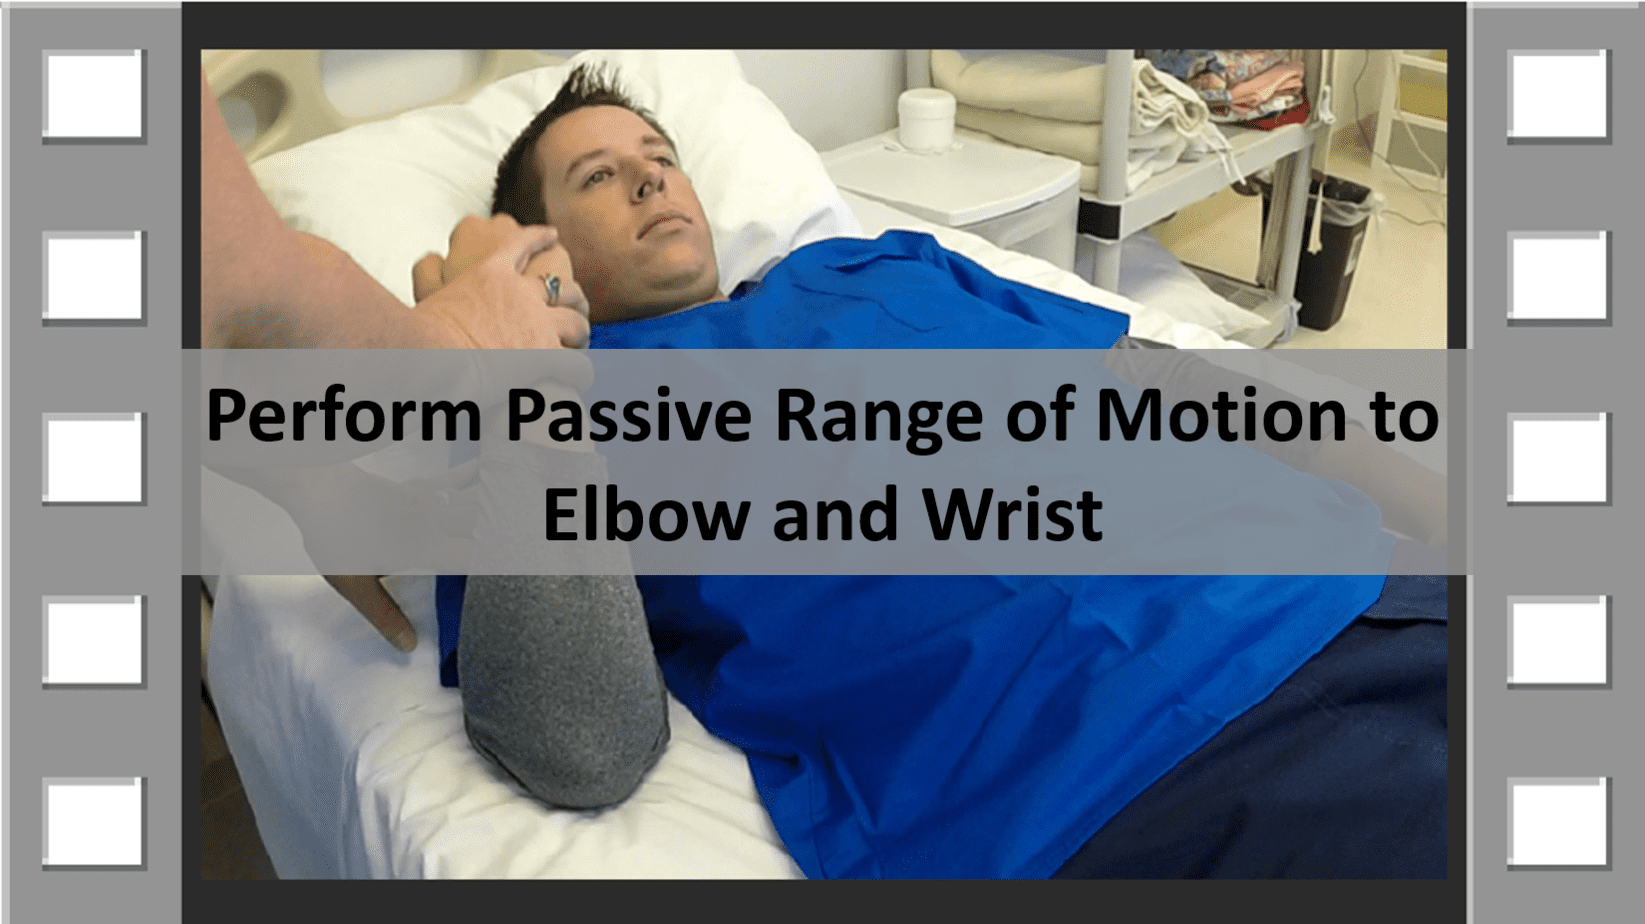
Provide the following range of motion (ROM) exercise to the resident’s right elbow and right wrist: flexion/extension. Provide three (3) repetitions of each exercise. The resident is not able to help with the exercises.
1. Opening & wash hands |
2. Explain all exercises before proceeding |
3. Flexion/extension of elbow (up and down like making a muscle) |
4. Flexion/extension of wrist (up and down like revving a motorcycle) |
5. Repeat each exercise three times |
6. Monitor for signs of pain |
7. Closing & wash hands |
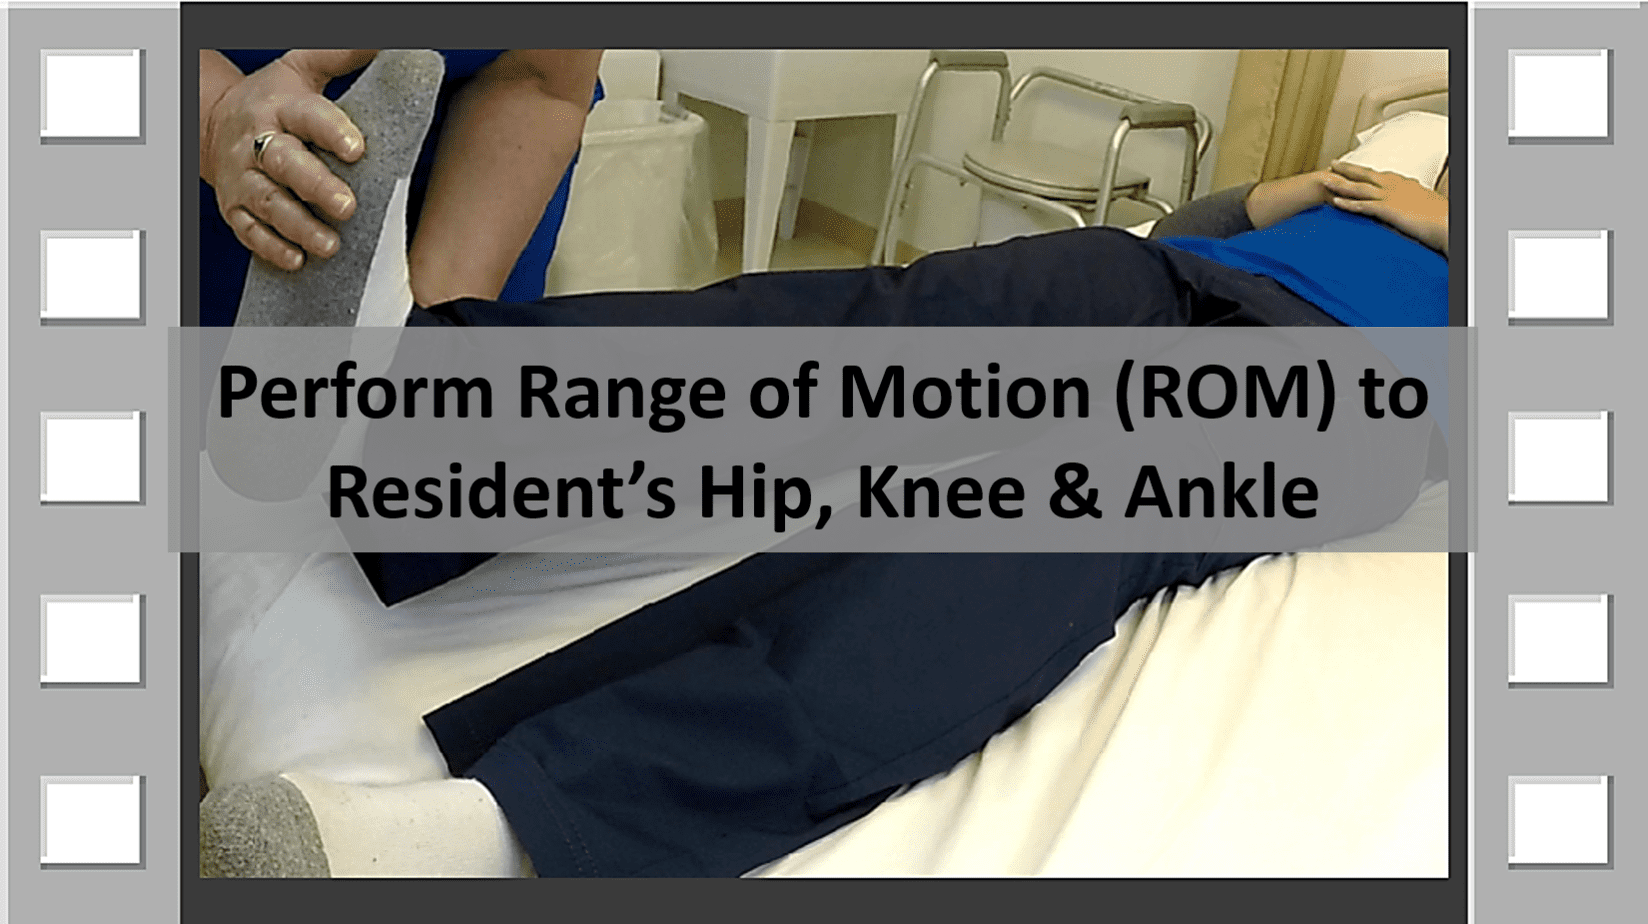
Provide the following range of motion (ROM) exercise to the resident’s right hip, knee and ankle: flexion/extension. Provide three (3) repetitions of each exercise. The resident is not able to help with the exercises.
1. Opening & wash hands |
2. Explain all exercises before proceeding |
3. Flexion/extension of hip and knee (up and down like climbing stairs) |
4. Flexion/extension of ankle (up and down like pressing down a gas pedal) |
5. Repeat each exercise three times |
6. Monitor for signs of pain |
7. Closing & wash hands |
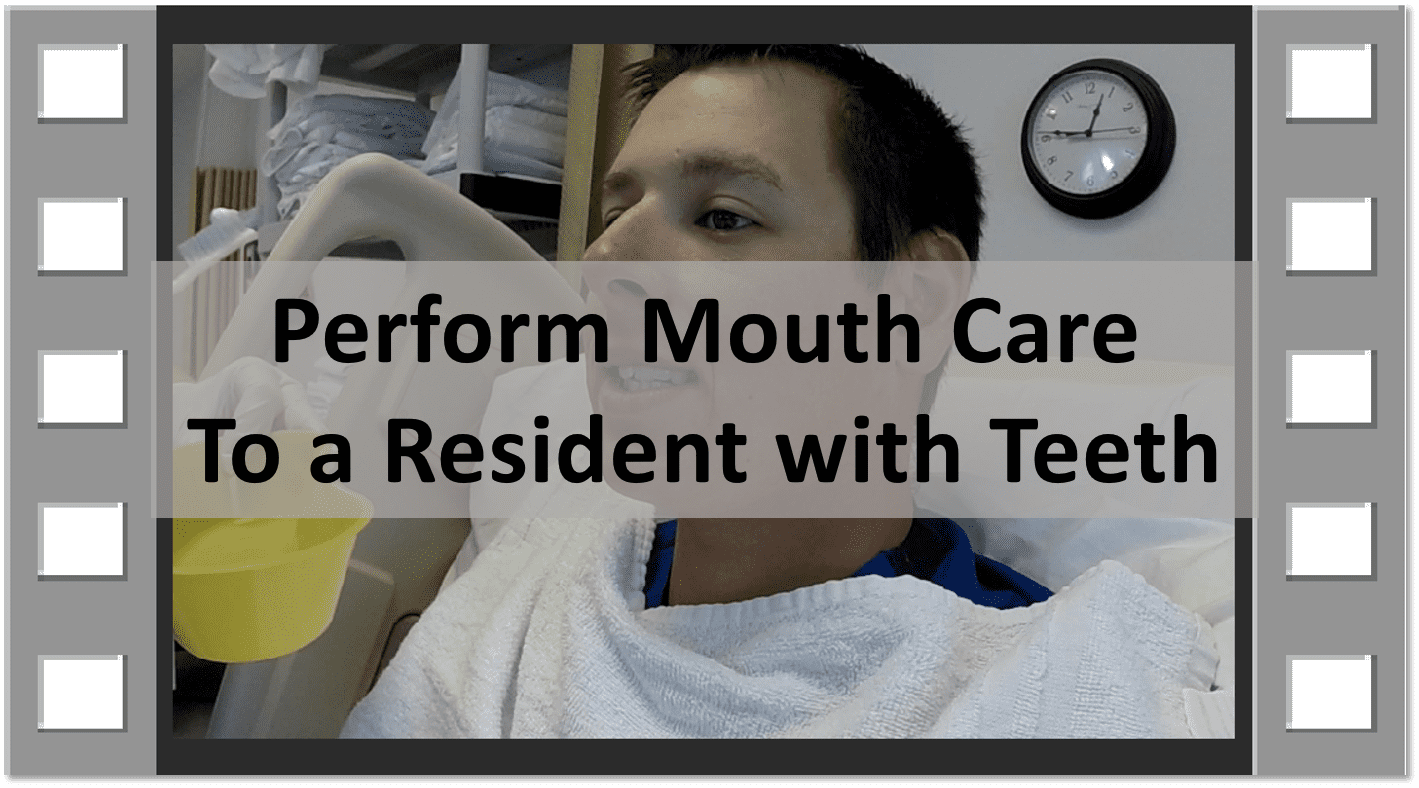
A resident with natural teeth is lying in bed and needs mouth care. The resident is not able to provide their own mouth care.
1. Opening |
2. Elevate head of bed & adjust pillow; wash hands |
3. Place barrier on table; gather supplies; put towel on patient’s chest |
4. Wet toothbrush & apply toothpaste; apply gloves |
5. Brush top, bottom, front and back of teeth and gums |
6. Brush tip of tongue |
7. Allow resident to rinse and spit until comfortable |
8. Dry mouth with towel; remove towel and place in hamper |
9. Clean and store supplies; dispose of trash; remove gloves |
10. Perform closing & wash hands |
A resident with dentures is sitting at an overbed table with their dentures in a denture cup. The resident’s denture needs to be brushed with toothpaste and the resident needs mouth care. The denture is stored in a denture cup after cleaning. The resident is not able to provide own mouth or denture care.
1. Opening & wash hands |
2. Place barrier on table; gather supplies; prepare denture brush |
3. Take denture cup to sink; place washcloth in sink; apply gloves |
4. Turn cold water on with paper towel |
5. Brush all surfaces with denture brush (prepared with toothpaste) |
6. Rinse well, make sure you remove all toothpaste |
7. Rinse denture cup, fill with cool water |
8. Place dentures in denture cup filled with water, put lid on |
9. Store on paper towel on bedside table; remove denture gloves |
10. Perform “Mouth care with teeth” with new gloves |
11. Clean and store supplies; dispose of trash; remove gloves |
12. Perform closing & wash hands |
Dress the resident in a long-sleeved button-front or snap-front shirt, pants and socks. The resident is lying in bed and has a weak right arm. The resident is not able to help with dressing. After dressing, leave the resident in bed.
1. Opening & wash hands |
2. Place barrier on table; gather clothing; ask what they want to wear |
3. Place privacy blanket on patient, pull down sheet underneath |
4. Place socks and pants on patient; raise head of bed |
5. Undress STRONG arm first (USA first), then undress weak arm |
6. Dress WEAK arm first, then dress stronger arm |
7. Ensure clothing is neat and appropriately fastened |
8. Ask if resident wants sheet on |
9. Remove privacy blanket; place blanket and gown in hamper |
10. Perform closing & wash hands |
Feed a resident a snack who is unable to feed him/herself. The resident is sitting in a chair, in an inappropriate position for eating. Document intake on a food and fluid intake form.
1. Opening & wash hands |
2. Ask resident to sit in a fully upright position |
3. Give patient a hand wipe to wash hands |
4. Offer a clothing protector |
5. Sit facing resident at eye level; offer beverage |
6. Feed slowly, spoon ½ full, offer encouragement and conversation |
7. Offer drink every 2-3 bites |
8. Clean resident’s face, dispose of food items |
9. Perform closing & wash hands |
10. Document intake on food and fluid intake form |
Provide hand and nail care to one hand. The patient is sitting in a chair at the bedside and can move as directed.
1. Opening & wash hands |
2. Put barrier on table; gather supplies and put on barrier |
3. Fill basin with water; ask patient to check water |
4. Soak hand; remove hand (rest on towel); wring out a washcloth |
5. Apply soap to wet washcloth; wash resident’s hand |
6. Return hand to basin to rinse with 2nd washcloth |
7. Remove hand (rest on towel) to dry |
8. Clean under nails using orange stick; wipe off between nails |
9. File nails in one direction (toward middle) using emery board |
10.Warm lotion and apply; wipe off excess lotion with towel |
11. Clean and store supplies, dispose of dirty linens |
12. Perform closing & wash hands |
Provide foot care to one foot using soap and water. The resident is sitting in a chair and their sock and shoe should be replaced at the end of the skill.
1. Opening & wash hands |
2. Put barrier on floor; gather supplies and put on barrier |
3. Fill basin with water; ask patient to check water |
4. Place basin on barrier on floor; apply gloves |
5. Soak foot; remove foot (rest on towel); wring out a washcloth |
6. Apply soap to wet washcloth; wash resident’s foot; inspect skin |
7. Return foot to basin to rinse with 2nd washcloth |
8. Remove foot from basin (rest on towel) to dry |
9. Warm lotion and apply (except between toes); wipe off excess lotion with towel |
10. Put sock and shoe on |
11. Clean and store supplies, dispose of dirty linens; remove gloves |
12. Perform closing & wash hands |
Give the resident a partial bedbath and a backrub. Wash the resident’s face, neck, chest, abdomen, back and one arm and hand with soap and water. Provide a brief backrub with lotion. Dress the resident in a hospital gown. Patient is lying on back in center of bed and can roll as directed, but is too weak to assist with bathing.
1. Opening & wash hands |
2. Put barrier on table; gather supplies and put on barrier |
3. Fill basin with water; ask patient to check water |
4. Place bath blanket over patient; pull sheet down to waist |
5. Place towel under closest arm, shoulder and neck |
6. Untie patient gown and remove from arm and torso |
7. Apply gloves; wring washcloth out (no soap) and wash each eye using leaves method and remainder of face; dry |
8. Apply soap to 2nd washcloth; wash behind ear, neck, chest, abdomen, side, arm, hand and armpit; rinse and dry |
9. Dress in clean gown and roll patient onto side |
10. Wash, rinse, dry back; give backrub with lotion; wipe off excess; tie gown |
11. Clean and store supplies, dispose of dirty linens; remove gloves |
12. Pull sheet up; remove privacy blanket (place in hamper) |
13. Perform closing & wash hands |
Position the resident on his left side. Patient requires support to remain on his side and is unable to assist with turning.
1. Opening & wash hands |
2. Put barrier on table; gather supplies and put on barrier |
3. Place bath blanket over patient; pull sheet down to end of bed |
4. Have patient move to side of bed closest to you |
5. Move patient’s farthest arm up over patient’s head |
6. Place patient’s closest arm across chest |
7. Bend closest knee so that foot is flat on mattress |
8. Angle farthest knee outward; Roll patient onto side facing away from you |
9. Place pillow behind back, tuck long edge under back, roll upward and tuck second edge under back (making a roll behind the patient) |
10. Place pillow between knees and ankles |
11. Place pillow under top arm; adjust pillow under head |
12. Check head and bottom arm for positioning; place call light in hand |
13. Pull sheet up; remove privacy blanket (place in hamper) |
14. Perform closing & wash hands |
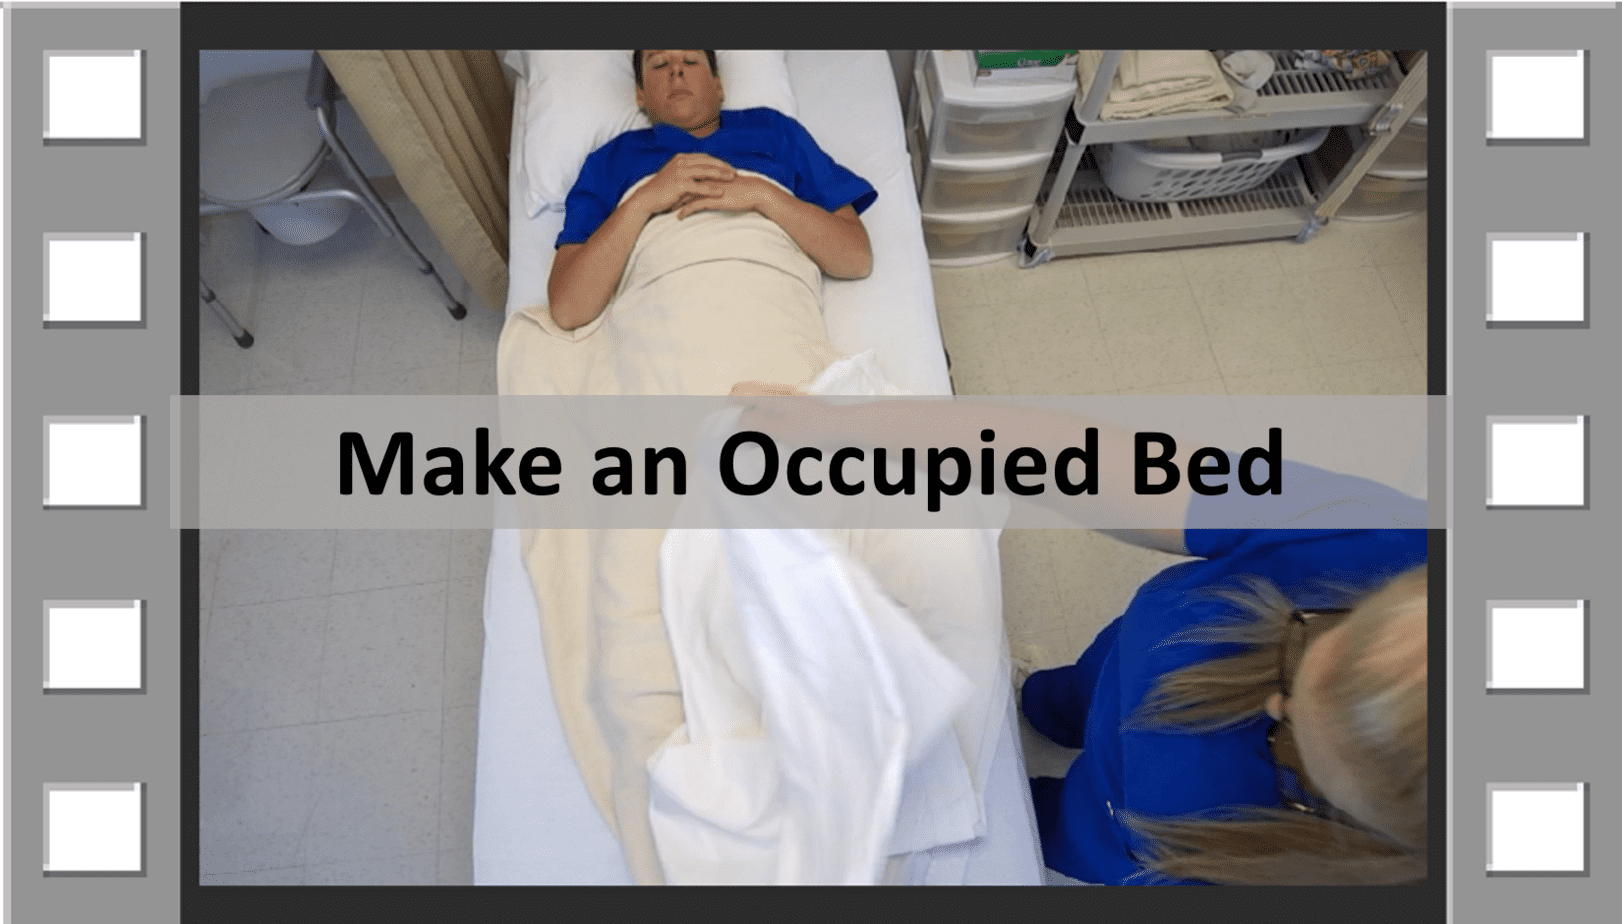
Change the top sheet, bottom sheet and pillowcase while the resident remains in bed. Resident can roll and move as directed but cannot get out of bed. A bedspread, blanket, drawsheet or underpad is not required for this skill.
1. Opening & wash hands |
2. Put barrier on table; gather supplies and put on barrier |
3. Place bath blanket over patient; remove top sheet, rolling in ball and place in hamper |
4. Have patient move to side of bed closest to you & roll toward center |
5. Roll dirty bottom sheet toward patient and tuck under entire body; look for objects |
6. Place clean bottom sheet on mattress, secure corners |
7. Roll clean sheet toward you and tuck under dirty all along the length of body |
8. Have patient return to center of bed on back; move to other side of bed |
9. Repeat step #4, remove soiled bottom sheet; roll into ball and put in hamper; smooth out clean sheet and attach corners to mattress – MINIMIZE WRINKLES |
10. Return patient to back in center of bed |
11. Replace top sheet; secure with hospital corners; remove privacy blanket to hamper |
12. Replace pillowcase; opening facing away from door; remove barrier and throw away |
13. Perform closing & wash hands |
The resident has requested a bedpan. The resident is not wearing undergarments and is able to wipe self. The resident is able to move as directed.
1. Opening & wash hands |
2. Cover resident with bath blanket, pull sheet down |
3. Apply gloves; Place clean chucks under patient |
4. Place bedpan under patient; give patient toilet paper |
5. Remove gloves; elevate head of bed |
6. Provide call light and leave area |
7. When patient calls, lower head of bed; apply gloves |
8. Remove bedpan and chucks together |
9. Empty bedpan in toilet; rinse into toilet; dry and store bedpan; remove gloves |
10. Give patient hand wipe to wash hands; dispose |
11. Replace sheet and remove bath blanket (place in hamper) |
12. Perform closing & wash hands |
The female patient has been incontinent of urine and needs perineal care. The pad under the resident is wet, but the hospital gown and bedding is dry.
1. Opening & wash hands |
2. Put barrier on table; gather supplies; roll chucks |
3. Fill basin with water; let patient check water |
4. Place bath blanket over patient, pull sheet down to knees |
5. Apply gloves; change underpad under patient |
6. Wash perineal area from front to back using “Leaves” method (5 leaves); rinse and dry |
7. Roll patient away from you, wash anal area and buttocks from front to back; rinse and dry |
8. Place clean, dry underpad under patient |
9. Put soiled linens in hamper, clean and store supplies; remove gloves |
10. Replace sheet and remove privacy blanket (place in hamper) |
11. Perform closing & wash hands |
Provide catheter care with soap and water to a female resident with an indwelling urinary catheter. Clean the catheter tubing and perineal area only.
1. Opening & wash hands |
2. Put barrier on table; gather supplies; roll chucks |
3. Fill basin with water; let patient check water |
4. Place bath blanket over patient, pull sheet down to knees |
5. Apply gloves; place underpad under patient |
6. Wash catheter tubing moving away from body using “Leaves” method (4 leaves); rinse and dry |
7. Wash perineal area from front to back using “Leaves” method (5 leaves); rinse and dry |
8. Remove underpad from under patient; inspect catheter tubing & bag |
9. Put soiled linens in hamper, clean and store supplies; remove gloves |
10. Replace sheet and remove privacy blanket (place in hamper) |
11. Perform closing & wash hands |
Empty the resident’s urinary drainage bag into a graduate container and measure and record urinary output (in ml’s or cc’s) on intake and output form.
1. Opening & wash hands |
2. Place underpad on floor; apply gloves |
3. Get graduate container; Position graduate container on barrier, |
4. Open urine port on catheter bag; Position port over graduate container |
5. Lift drainage bag slightly to allow urine to drain into graduate container. Do not allow port to touch anything. |
6. Close clamp; return port to storage pocket; inspect catheter and tubing |
7. Transport graduate container and chucks to bathroom; measure in cc’s on a flat surface, on a barrier, at eye level to nearest line |
8. Empty, clean and store graduate container; remove gloves |
9. Perform closing & wash hands and document |

